The Animated Snowman Project
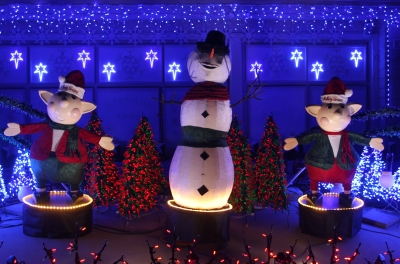
Completed Animated Snowman in the Belardo Lights Display
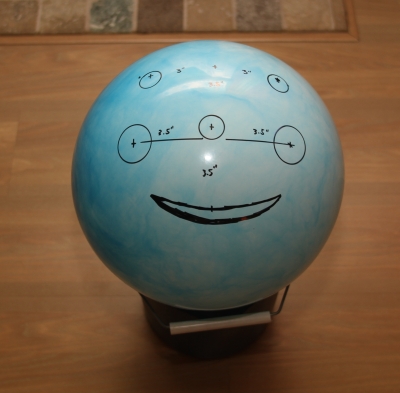
Preparing Head Mold - Measurements
Time to get started on our Snowman Project for 2012. Using a Sharpie pen, I laid out the basic dimensions of the Snowman head on a Walmart bounce ball.
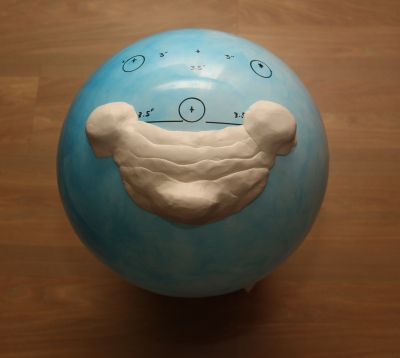
Preparing Head Mold - Contours
In addition, we also used modeling clay to build up contours for cheeks, mouth, and the chin for the Snowman.
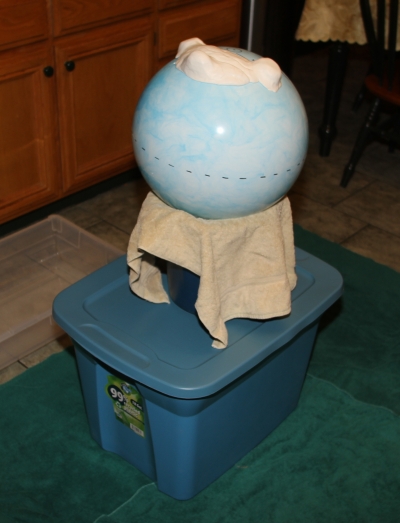
Preparing Head Mold - Ready for Mesh
It takes two balls to make both sides of the head, so this is just the front half. We're gearing up to get the mesh heated up in the water tray and then we'll apply it to the ball/clay pattern. When the mesh cools down, it will assume the shape of the mold.

Preparing Head Mold - Front of Head
This is what the head looks like after the mesh is applied to the front half of the ball. Some trimming will be necessary at the halfway point all around the head.
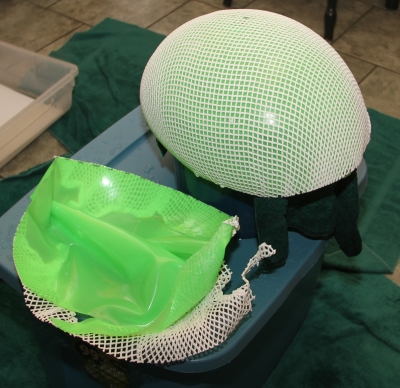
Preparing Head Mold - Rear of Head
The rear half of the head is easier to deal with because it doesn't have the contours. Here is what the mesh looks like on the rear half of the head.
Early Scale Prototype
Here is an early scale prototype of what the Snowman's body will look like. We want the two pieces of the body to swivel in time with the music, but this is just made for sizing.
Brandon Welding Scale Model
Brandon was enjoying working on another scale model of the Snowman body, using his welding skills.
Swiveling Scale Model
More design work is now complete on the scale model of the two body pieces. Work is continuing on designing the swivel so that it looks real and doesn't bind or have any other movement problems.
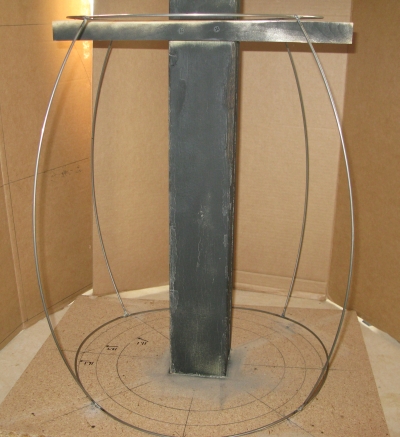
Sizing Full Scale Base
Work on the scale model is coming right along, so now it is time to "scale it up" to full size production! Never thought you'd use that math from school? You will if you make a Snowman! Different size diameter calculations are laid out on the board below the body, and we decide to move forward with a particular size for the production Snowman. One of a kind, custom designed.
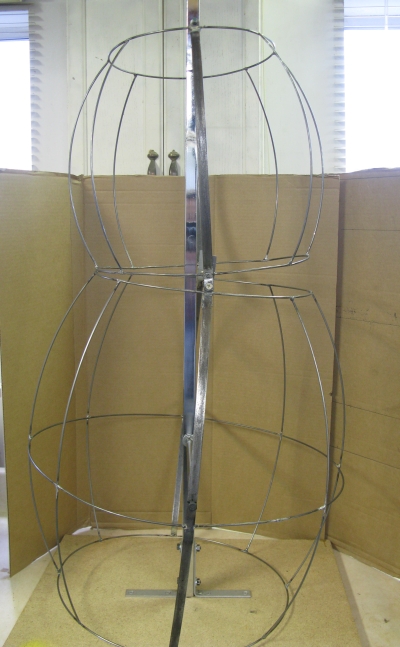
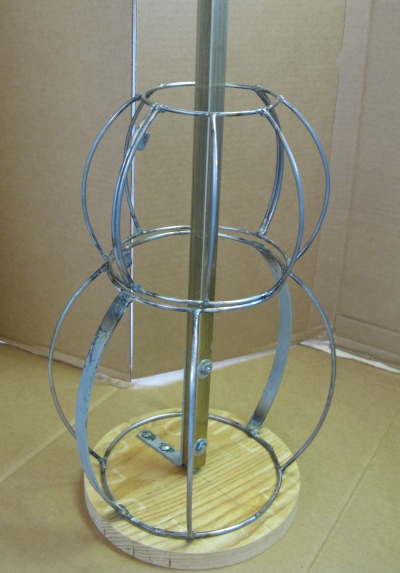
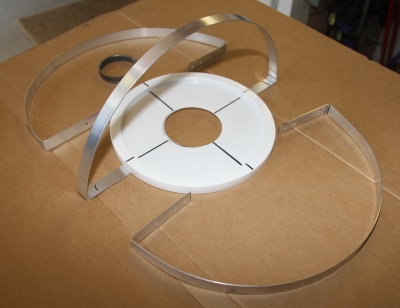
Swiveling Full Scale Base and Center
Moving right along with the body construction, and now the two swivel pieces are complete. Brandon helped to weld up all the metal pieces and test them for strength.
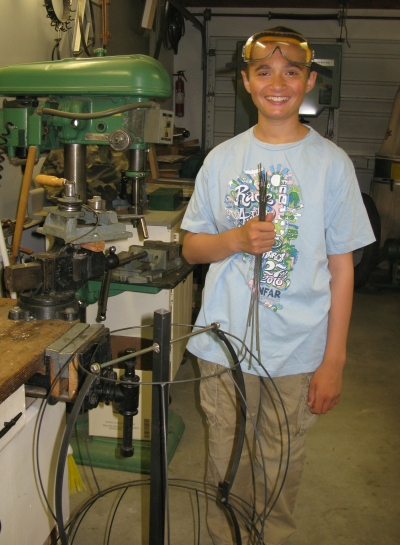
Brandon Prepping Metal to Weld for Base
We decided to add some additional "ribs" to the body base to help with some strength issues. Brandon cut the metal, applied the curve to it and helped weld it into position.

Full Scale and Small Scale Bodies
This photo shows the difference between the scale model and full-size production swiveling body parts. We're looking good and ready to move forward.
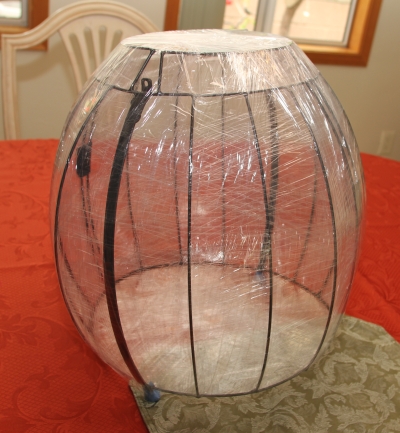
Wrapping Base in Plastic
In an effort to help hide the "Ribs" on the swiveling body, we decide to coat the body in some plastic shrink-wrap product.
Preparing Head Frame
At the same time, we're also working on building up the head of the Snowman that will contain all the servos or small electric motors that will make the snowman come to life.
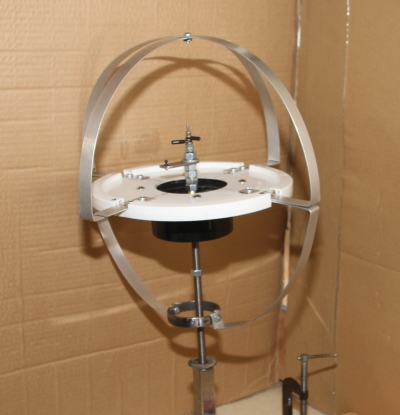
Assembling Head Frame
The head is coming together mechanically. We need to make sure it swivels in all directions correctly and that the head support metal strips will support and fit with the previously-produced front and back head pieces.
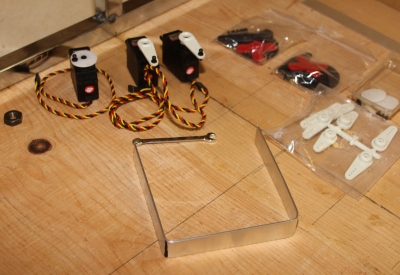
Parts For the Head
These are the parts that will help give the head the motion it needs. The SErvos are on the left, and the arm "Horns" are on the right. The metal square on the bottom will be used for helping with the mouth movements.
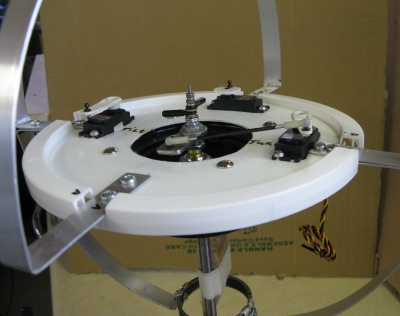
Servos Mounted on Head Plate
The servos are getting mounted on the head plate. Each servo moves the head in a different direction (left-right, up-down, tilt-twist, etc.)
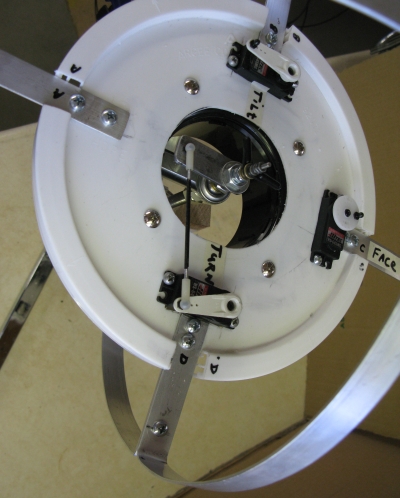
Servo Mechanics on Head
The servos are controlled by mechanical linkages that go back to the center of the head, which causes the servos to pivot the head in a particular direction as they move.
Front of Head Test Fit
More servo fine-tuning and adjustments, while the mesh/fabric-covered head is also test fit.
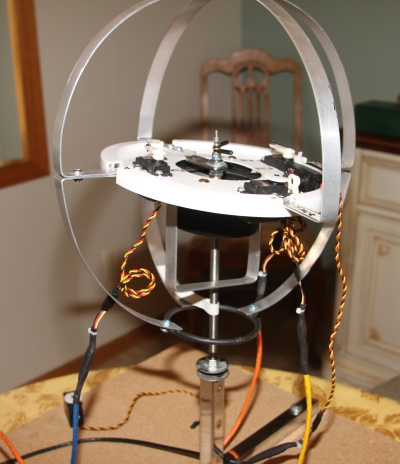
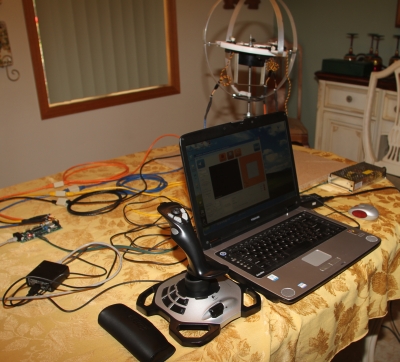
Servo Electrical Shakedown Testing
Next we hooked up all the servos electrically and did some shakedown testing with the laptop, Trackskull software and the Light-o-rama Servodog controller. The servo limits also had to be programmed into the system.
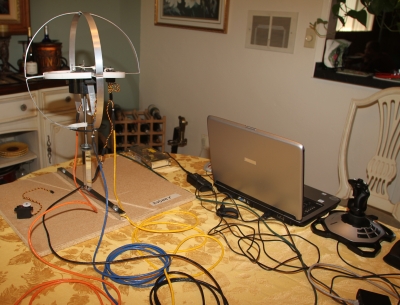
Using Joystick to Test Servo Movement
More servo testing and shakedown. No major problems, just adjustments and tweaking need to be done.
More Servo Testing and Adjustment
The servos were getting a workout while we made adjustments and parameter settings on the Servodog controller.

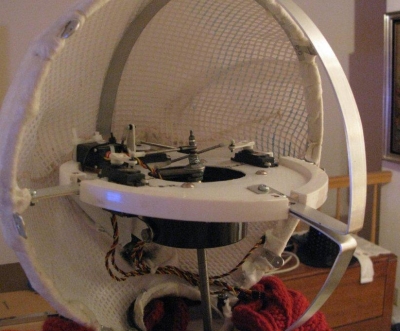
Head Mounted to Swiveling Base
The head was then attached to the body for more elaborate electrical testing. The parts fit and work well together, just some minor adjustments will be needed.

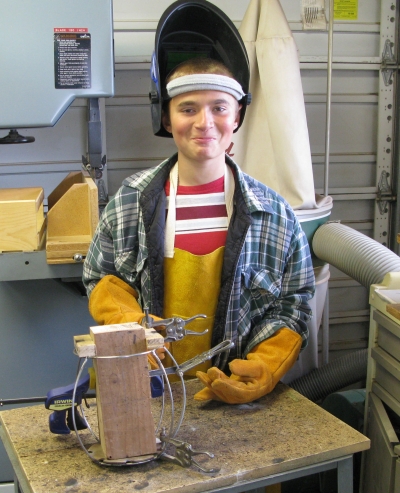
Brandon Enjoying Snowman Shop Work
Brandon is enjoying working on the Snowman head in the shop. We're now working on getting the mouth movements to work properly with the mouth servo.
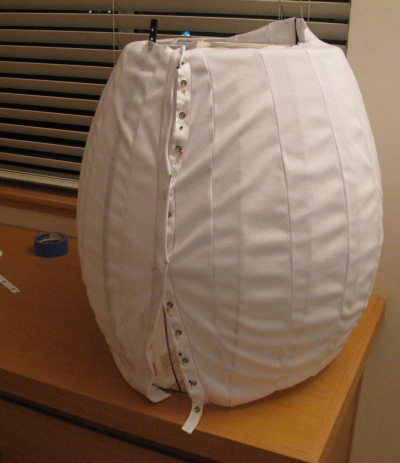
Sewing and Attaching Snowman Underclothes
Mom is busy sewing some Snowman "underclothes" that will help to hide the ribs when the final clothes are fitted. Snaps and velcro are our best friends!
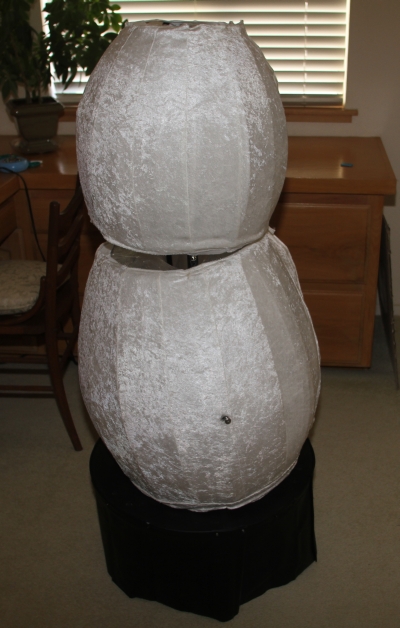
Attaching Snowman Outer Clothing
The white velvet snowman outer clothes are sewn up and put in place. Everything is looking good for the Snowman to come to life...Display setup is in about 2 weeks, so we're starting to run out of time.
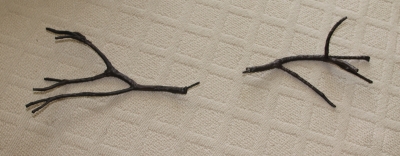
Snowman Arms Final Assembly
We built some snowman arms out of tree branches, and covered them with fiberglass tape and liquid plastic that hardened up. Then we painted the arms brown and attached some "pegs" on the end that will mesh with the snowman body.
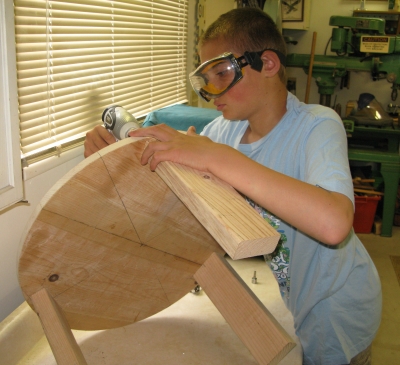
Brandon Assembling Snowman Base
Brandon loves working in the shop and did the necessary woodworking on the Snowman base. In this photo, he is attaching the legs to the bottom of the base.

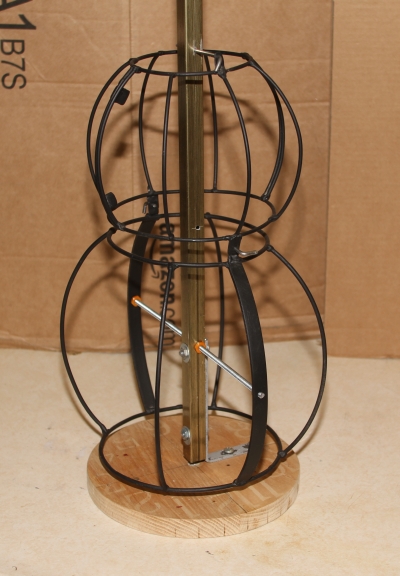
Painted Base Showing Swivel Servo
Once the base is built and painted, the "Body swivel" servo is mounted and put into position.
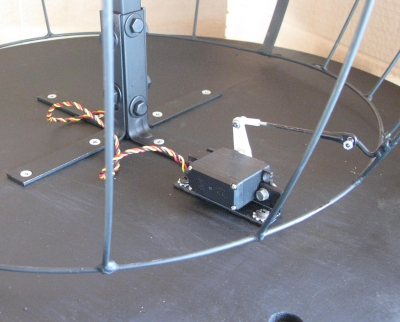
Closeup of Swivel Servo
Here's a closeup photo of what the servo mechanism looks like for the body.
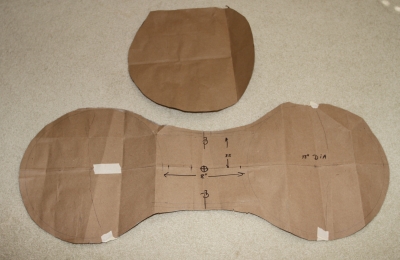
How to Cover Head? Baseball Pattern!
Now it's time to make some fabric "underclothes" for the head and face of the Snowman. How do you put fabric on a sphere? Like a baseball...Papa Joe made a pattern, and trial-and-errored it into production for the head coverings.
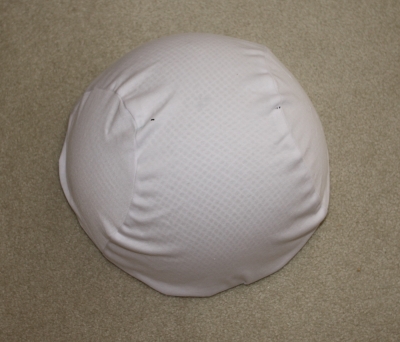
Test Fitting Head Fabric
Here's what the fabric looks like in a loose fitting. For the final product, we'll make sure that the wrinkles and gaps are filled in and tightened up.
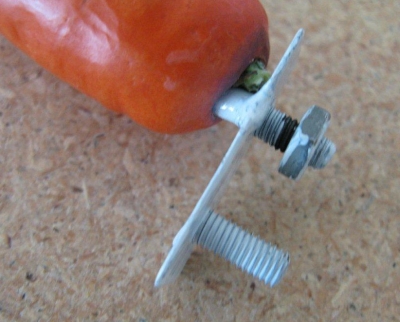
Ready to Attach Carrot Nose
Every Snowman needs a nose, so we built one of out a plastic carrot. It won't be coming off anytime soon.
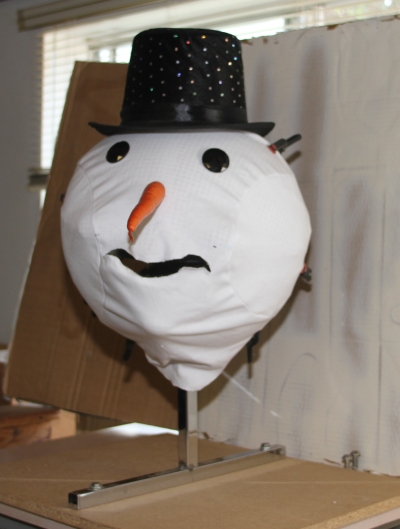
Test Run for Head Without Lips
Here's a test fit of the fabric on the Snowman head. It's looking good, so we proceed to the next step and permanently fasten the under fabric and outer skin fabric to the Snowman.
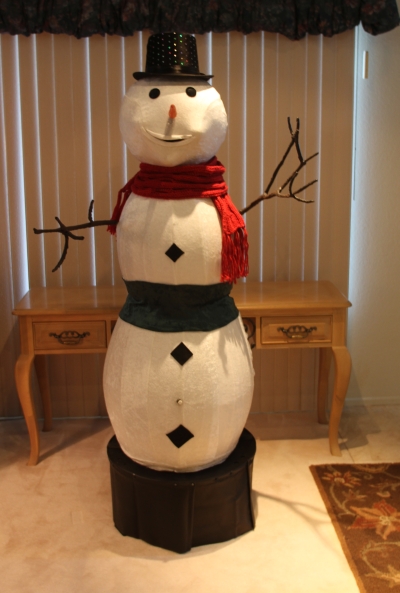
Voila! The Snowman Is Ready To Perform
Here's what the finished product looks like! Next we spent a lot of time programming the head and mouth movements. That was a lot of work, but it went pretty smoothly...
We hope you enjoyed our new snowman in the Belardo Lights display!!! And hopefully this set of photos will help you better understand how it all came together over the course of several months!